


✨ Once a professor of mine, while discussing the meaning of "learning," told me something I would never forget. He said:
You have really learned something when you're able to explain it as if you were talking to a child
💡 This insight inspired me deeply, and I still use this concept to "self-evaluate" my studies.
This is exactly the approach I want to take with this new series.
As many of you already know, I've never been a "natural" programmer.
R / Python / HTML / CSS were nothing more to me than acronyms on a food package—chemical elements I couldn't care less about.
Yet I've decided to start fresh, both as a personal challenge and to develop skills that will benefit me in the future. 🚀
Following my professor's wisdom, I want to bring you along on this learning journey with the programming language I've chosen: Python. 🐍
I won't waste time explaining why I picked Python (it's not important). I'm simply a complete beginner who wants to create a series that helps others who know nothing about programming (yet!).
So, let's dive in and learn PYTHON together! 💻
The first problem I encountered when starting with Python was: "Ok, let's start... but where do I actually write code?" 🤔
This might sound basic, but for many non-programmers, it's a legitimate hurdle.
That's why I'm dedicating this post to answering this fundamental question. 📝
Currently, there are (in my experience) three main environments for writing Python code. I'll briefly describe each option, highlighting their pros and cons, along with any setup differences between Windows and Mac users. 🖥️ 🍎
🔹 1. IDLE (Python’s built-in editor)
What it is:
A super basic interface that comes with Python itself.
✅ Great for beginners
✅ Ready to use right after installing Python
❌ Very limited: no extensions, no Git, no autocomplete
Setup:
📍 Windows:
Download Python from python.org
During installation: ✅ Check “Add Python to PATH”
After install, search for IDLE in your Start menu
Start writing your first script
🍏 Mac:
Download the
.pkginstaller from python.orgOr use Homebrew:
brew install pythonOpen IDLE from Launchpad or Applications
🔹 2. Google Colab (100% online)
What it is:
A cloud-based Jupyter Notebook built by Google. Super useful for data analysis and AI projects.
✅ No installation needed
✅ Comes preloaded with Pandas, NumPy, TensorFlow, etc.
❌ Needs internet connection
❌ Not ideal for full apps or local file work
Setup:
Log in with your Google account
Click New Notebook and start writing Python cells
Want to work with local files? Mount Google Drive:
python
CopiaModifica
from google.colab import drive
drive.mount('/content/drive')
After that setting, you will be able to use all the data on your Google Drive with the Python functions

🔹 3. Visual Studio Code (VSC)
What it is:
A professional-grade editor with tons of extensions and full Python support.
✅ Best for real-world projects
✅ Linting, Git, Jupyter, virtual environments
❌ Slightly longer setup (but 100% worth it)
Setup:
Install Python
Windows: download
.exefrom python.org, check "Add to PATH"Mac: download
.pkgor runbrew install python
Install VS Code
Download from code.visualstudio.com
On Mac: drag it to Applications
Install Python Extension
Open VS Code → Extensions tab (
Ctrl+Shift+X/Cmd+Shift+X)Install “Python” by Microsoft
(Optional but recommended): install “Jupyter”
Select Python Interpreter
Open Command Palette (
Ctrl+Shift+P/Cmd+Shift+P)Type “Python: Select Interpreter”
Pick the correct one (usually looks like
Python 3.x)
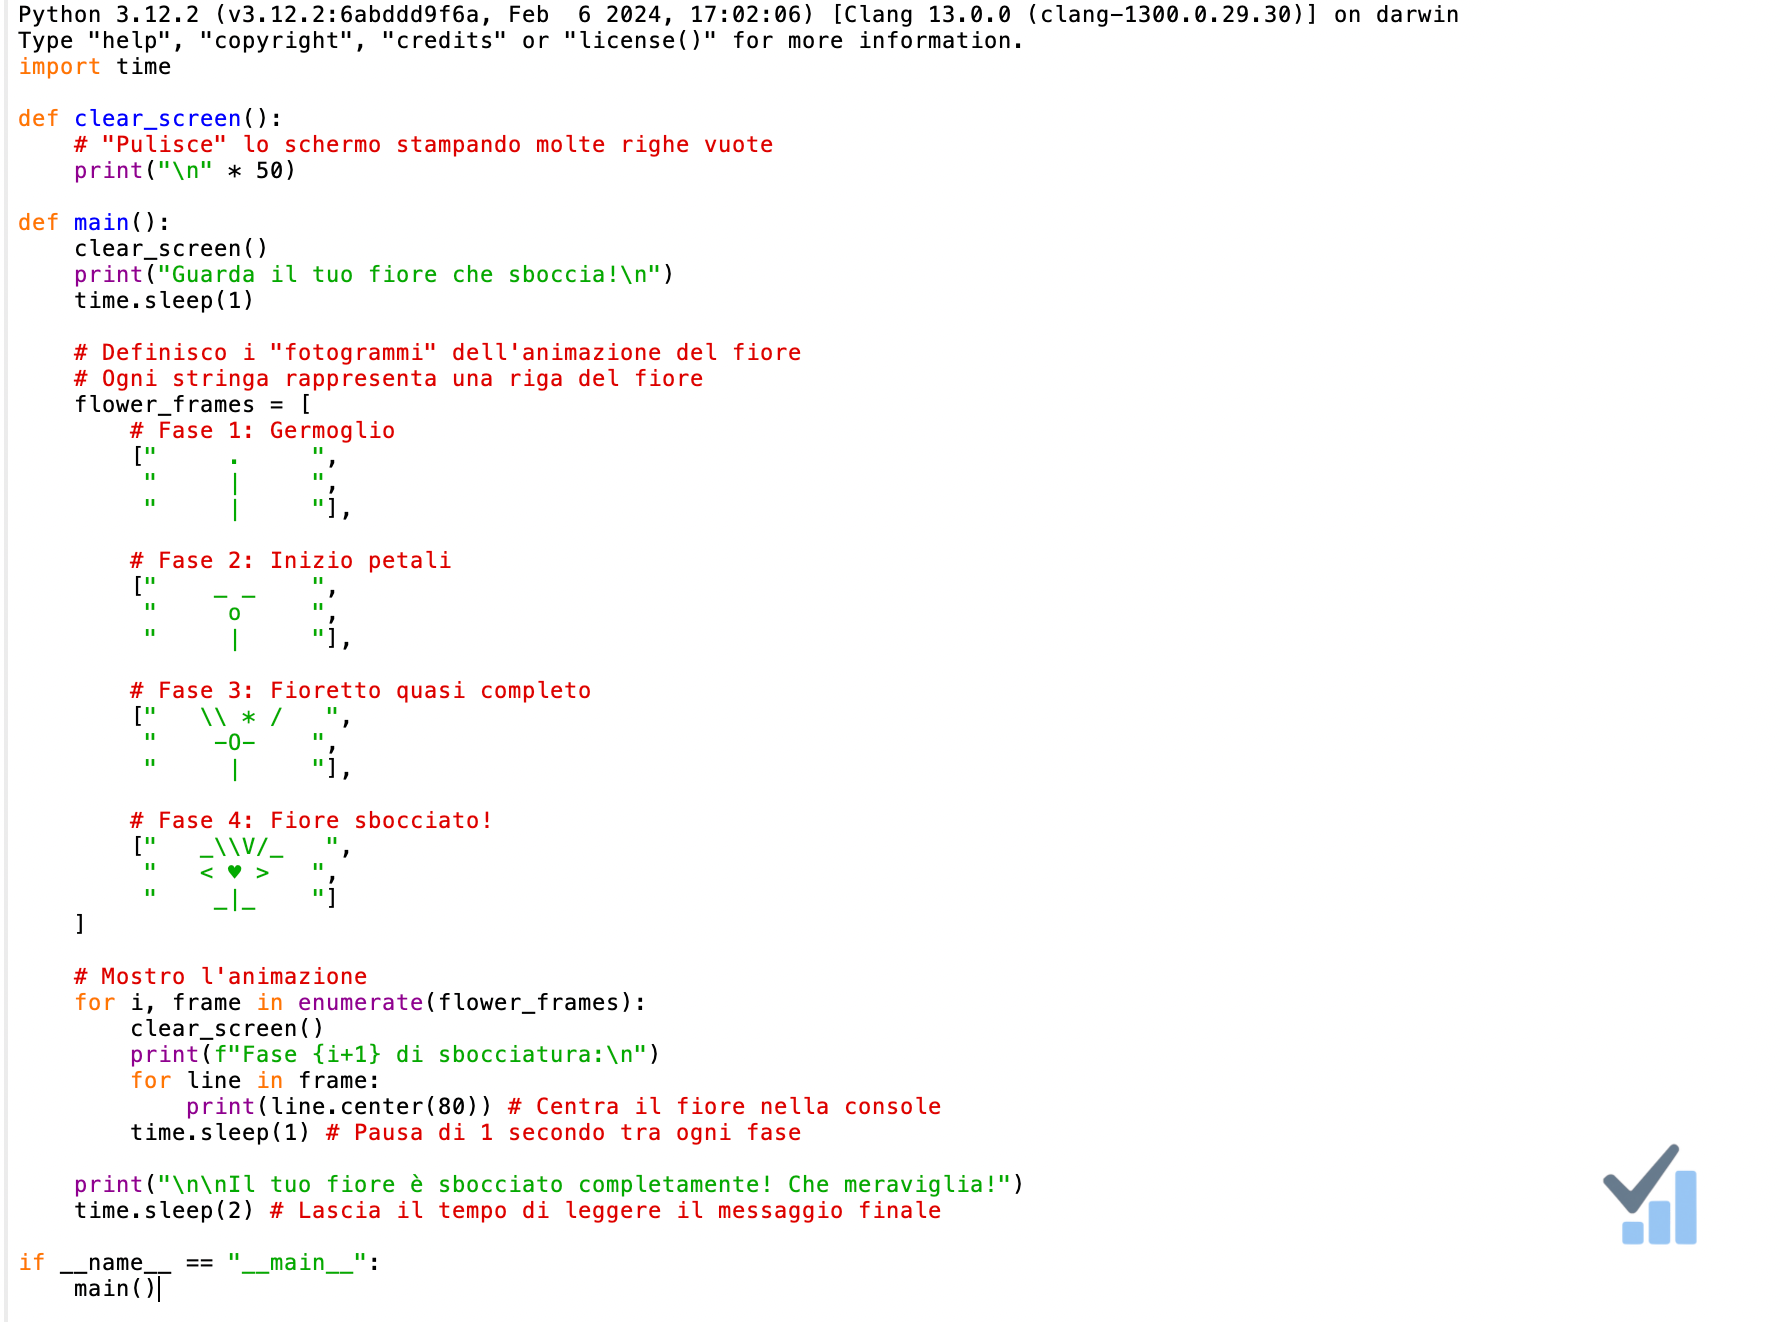
Test your setup
Create a new
.pyfile and run:
python
CopiaModifica
print("Hello, Python!")
Run the script with Ctrl+F5 or Cmd+F5 (you can always change your shortcuts in the settings menu)
🧪 Bonus Tip: Spin Up a Virtual Environment in VS Code 🐍
Creating a fresh venv for every project keeps your dependencies clean and your sanity intact. Here’s the fastest way—no terminal needed.
✅ Why bother?
Isolated packages → no version clashes across projects
Easy sharing → teammates can
pip install -r requirements.txtand get the exact same stackTidy global Python → nothing spills into your system site‑packages
⚙️ Create it straight from the Command Palette
Open Command Palette →
Cmd + Shift + P(macOS) /Ctrl + Shift + P(Windows/Linux)Type “Python: Create Environment” and hit Enter
Pick
venvas the environment typeSelect your preferred Python interpreter (usually the latest 3.x)
VS Code whips up a
.venvfolder and auto‑selects it as your interpreterCheck the Status Bar—see
(.venv)? You’re activated ✅
Now any pip install pandas (or whatever) lives only inside this venv.
🔁 When you reopen the project
VS Code will prompt: “Use the Python interpreter from .venv?”
Just click Yes and you’re back in your isolated paradise.

Conclusion
I know that was quite a lot of information, but I wanted to provide all the necessary details about these basic setups.
In the next post of this series, we'll start diving deeper into Python itself.
I hope you found this article helpful. If so, please let me know with a reaction or comment—it means a lot to me.
Until next time,
~Davide